With my new Proxmox host set up, it was time to bring over my existing VMs and containers. Since I had already experimented with Proxmox on my old desktop, I had a handful of machines ready to go — Home Assistant, a few LXCs, and some supporting services. I might do a separate post on how those were originally set up, but this felt like the perfect chance to test the backup and restore process for real.
I’d configured backups during my initial Proxmox trial, but you never really know how reliable a backup system is until you have to depend on it. My plan was simple: copy the backups to a USB drive, plug it into the new machine, and see how smoothly the restore process went.
Setting up the USB
I had a 32 GB USB drive lying around that seemed big enough for the backups. It was formatted as NTFS from its previous life in Windows, but since I’d be using it between Linux servers, I decided to reformat it as ext4.
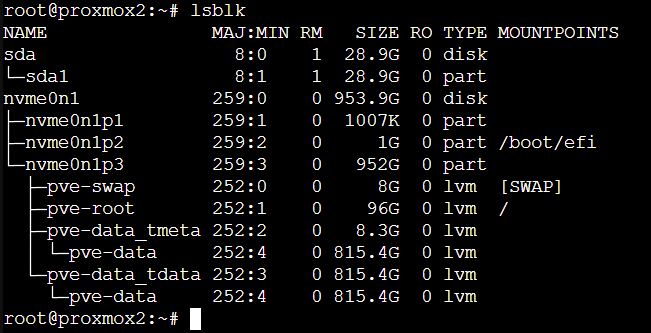
With the new server still on my workbench, I plugged the drive in and opened a root shell through the Proxmox web UI. Running lsblk gave me a list of all attached drives, and I identified the USB stick by its size (sda).
After unmounting it just to be safe (unmount /dev/sda1), I wiped the old filesystem:
wipefs -a /dev/sdaThen created a fresh ext4 filesystem:
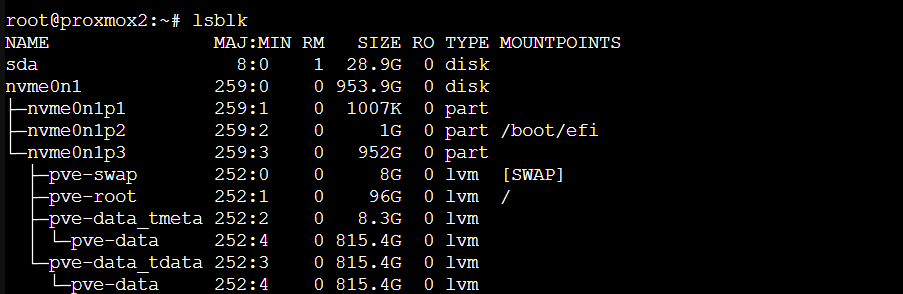
mkfs.ext4 /dev/sdaA quick lsblk confirmed the drive now had a clean ext4 filesystem at the root, with no partitions — exactly what I wanted.
Configuring the drive for use
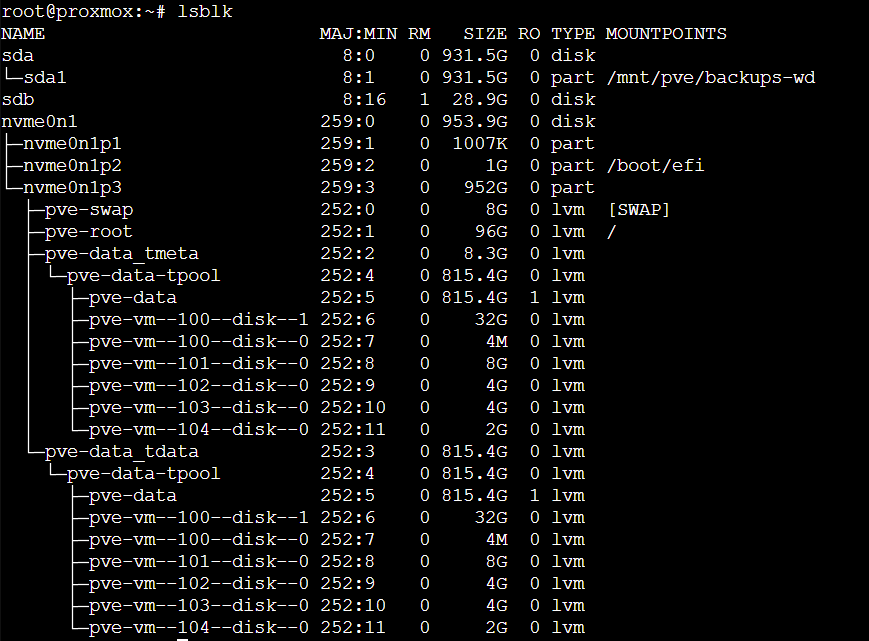
Next, I moved the USB stick to the old Proxmox server so I could copy the backups onto it. This machine had multiple drives, so the USB showed up as sdb. Another lsblk made it easy to spot.
Before I could access it, I needed to mount it:
mkdir -p /mnt/usb
mount /dev/sdb /mnt/usb
With the drive mounted, I added it to Proxmox as a storage location: Datacenter → Storage → Add → Directory
- ID:
usb-backup - Directory:
/mnt/usb - Content:
Backup
Once added, it appeared in the sidebar and was ready to use.
Creating the backup
My existing backups were a few days old, so I figured I might as well generate a fresh one. I selected my Home Assistant VM and went to: Backup → Backup Now
- Storage:
usb-backup - Mode:
Stop - Compression:
ZSTD
When the backup finished, I shut down the VM so that it would not make any further updates and not conflict with the new VM I was going to restore.
Back in the root shell, I unmounted the USB drive:
umount /mnt/usbThe first attempt hung for a bit, so I canceled it and tried again. The second attempt returned immediately. With the backup created, it was time to try restoring it.
Restoring the backup
On the new Proxmox host, I repeated the same steps as before: identify the USB drive, mount it, and add it as a storage directory. Once that was done, I selected “usb-backup” in the sidebar and opened the “Backups” tab. The backup file appeared right away.
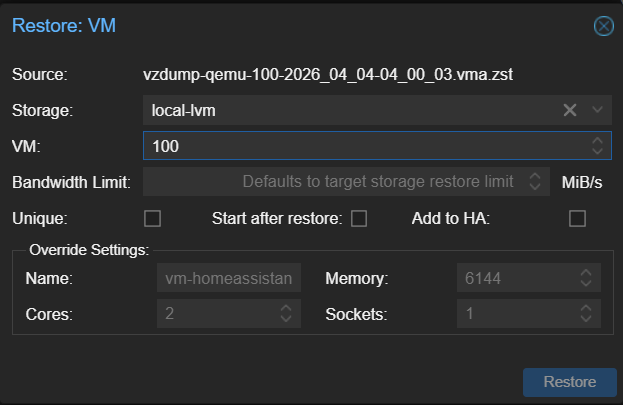
Clicking “Restore” brought up the restore dialog. I changed the storage to local-lvm so the VM would be created in the right place, and I made sure the VM ID matched the original. Everything else I left at the defaults.
After the restore completed, I opened the VM’s “Hardware” tab and double‑checked the network device. I wanted the MAC address to match the old machine so my router would assign the same IP. Once that was set, I booted the VM.
To my surprise, it came up without any issues. The router recognized it, assigned the correct IP, and Home Assistant picked up right where it left off. All my devices and automations continued running as if nothing had ever changed. I was genuinely impressed with how smooth the process was.
With the first restore successful, I unmounted the USB drive again and repeated the process for my three LXC containers (Nginx Proxy Manager, AdGuard, and Uptime Kuma). I only needed to mount and unmount the USB drive — the rest of the setup didn’t need to be repeated each time. Just like the VM, each restore was quick and uneventful. It gave me a lot more confidence in Proxmox’s backup system — it just works.