With all my VMs and containers moved over to the new Proxmox machine, the old server was finally free and so was its hardware. It had been running on an Inland 1 TB NVMe SSD that was more than a few years old, but still usable. Rather than let it sit around, I figured it would make a great secondary drive for the new server, especially for backups.
Adding the SSD
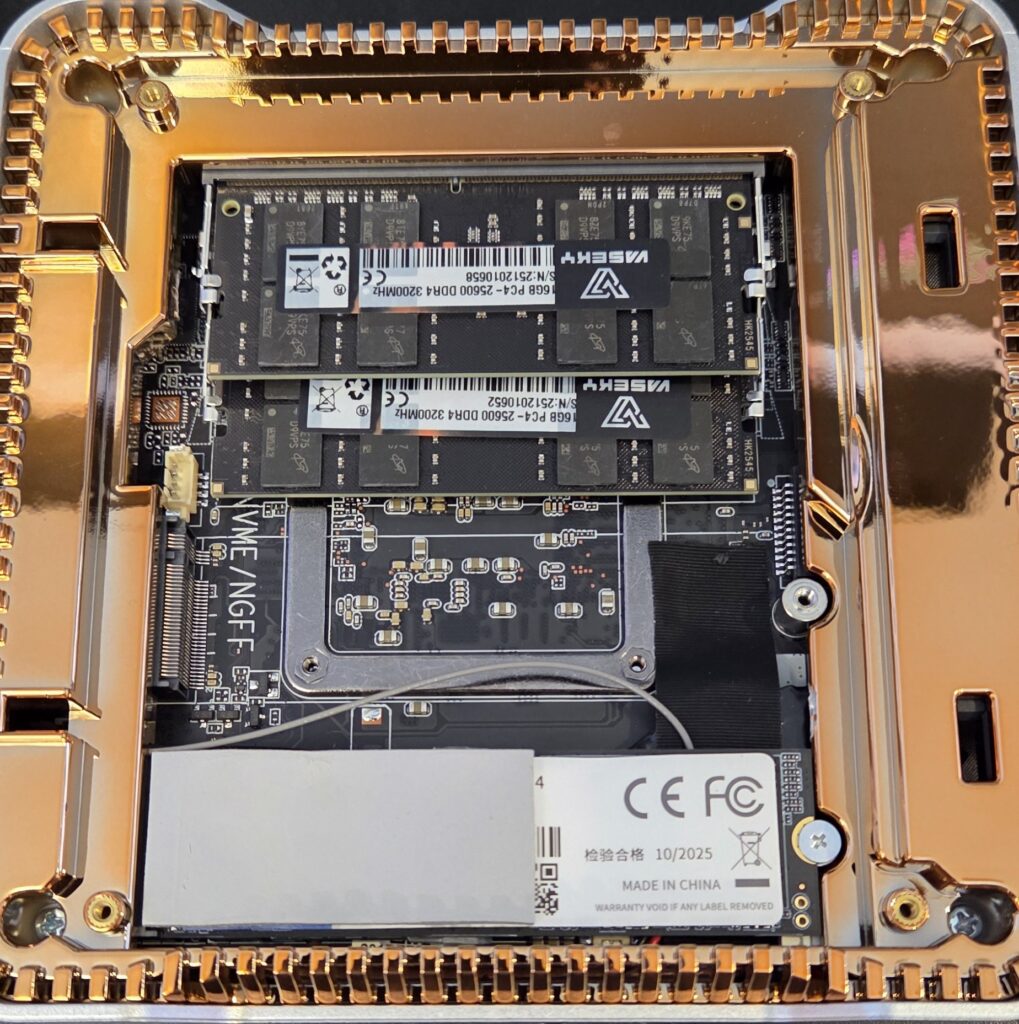
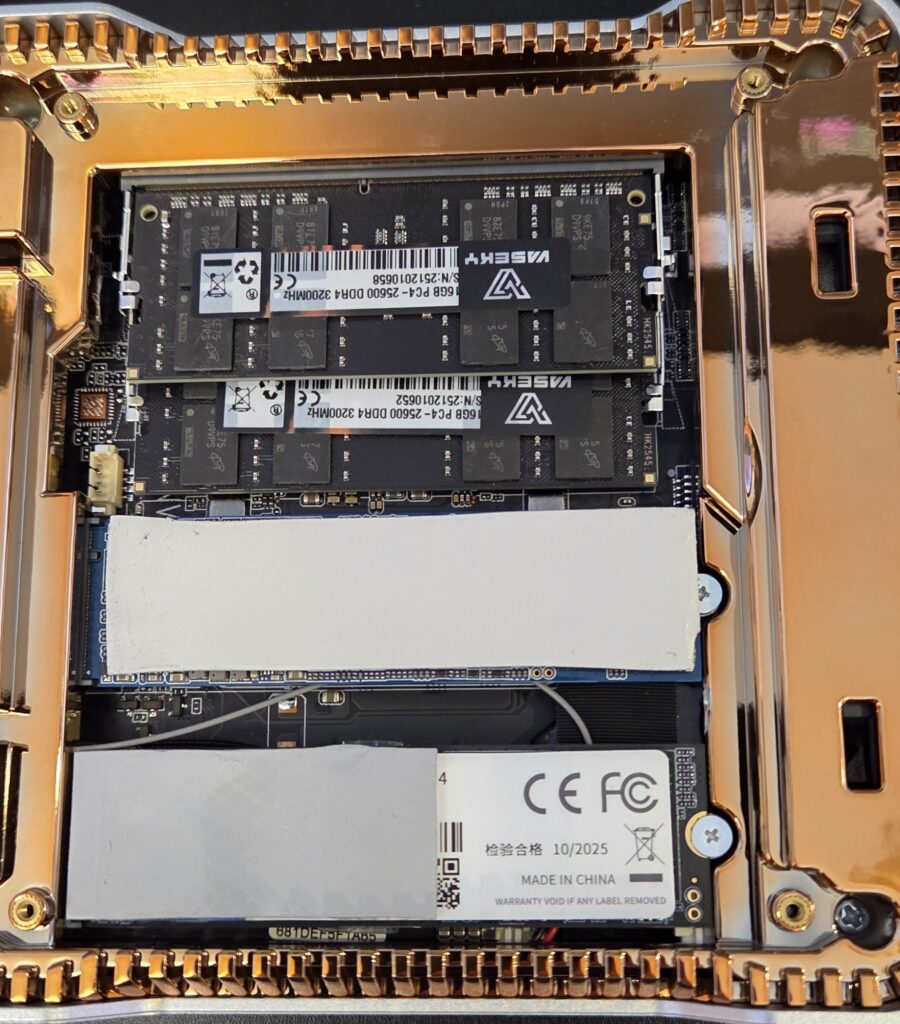
Hardware Installation
I pulled the SSD out of the old machine and opened up the mini PC. The case was straightforward to open, and the empty M.2 slot was easy to spot. I inserted the SSD, secured it with a screw, and added a thermal pad on top for good measure.
Drive Configuration
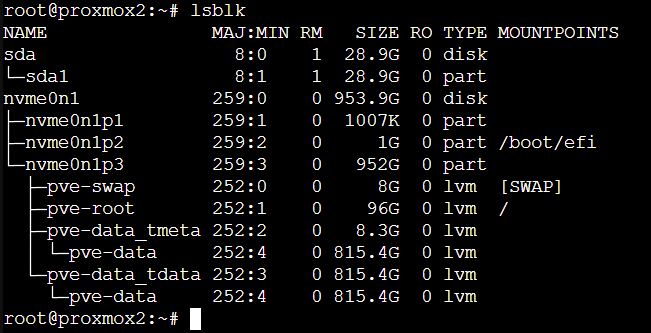
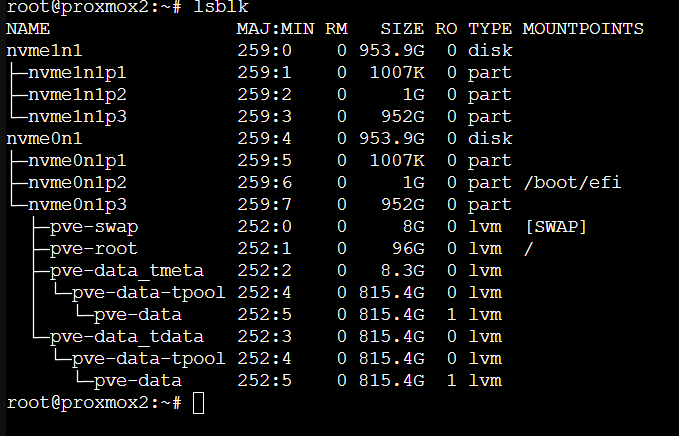
With the drive installed, I reassembled the mini PC and booted it up. From a root shell, I ran lsblk to identify the new drive. In my case, it showed up as nvme1n1, still containing the old partitions from when it was the boot drive in the previous machine.
To clean it up, I went to: Node → Disks → (select drive) → Wipe Disk
Once wiped, I clicked Initialize Disk with GPT to give it a fresh partition table.

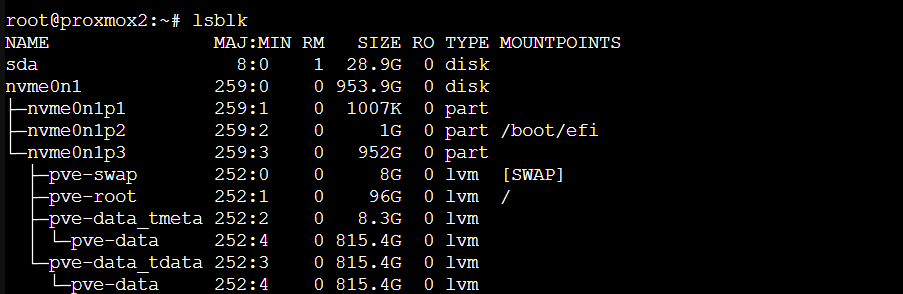
I planned to split the drive into two halves — one for backups and one for VM storage — but decided to reboot first. When the machine came back up, the drive names had swapped (nvme1n1 became nvme0n1), which threw me off for a moment. Apparently this is normal behavior depending on PCIe enumeration order.

Since the Proxmox UI doesn’t support partitioning NVMe drives directly, I switched back to the shell and created two partitions manually:
parted /dev/nvme0n1 --script mklabel gpt
parted /dev/nvme0n1 --script mkpart primary 0% 500GB
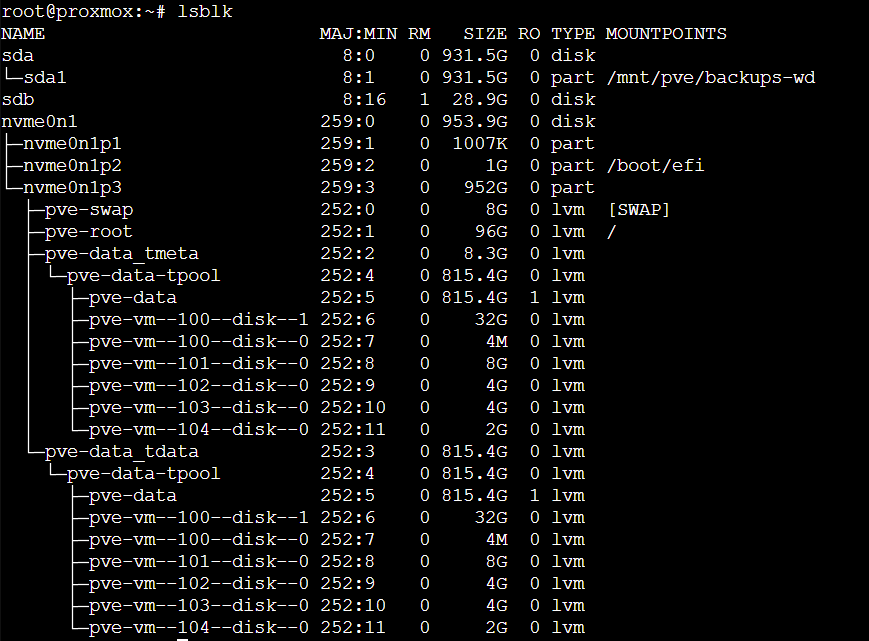
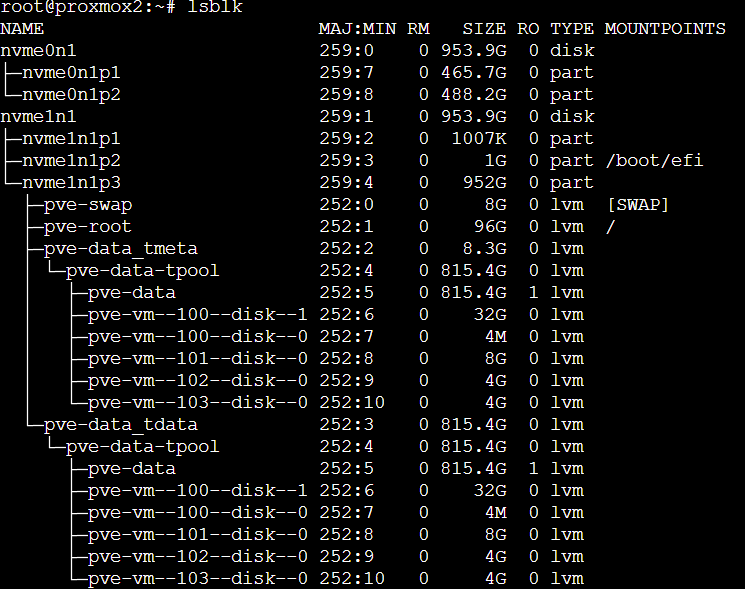
parted /dev/nvme0n1 --script mkpart primary 500GB 100%A quick lsblk confirmed the new partitions.
Adding the Drive to Proxmox
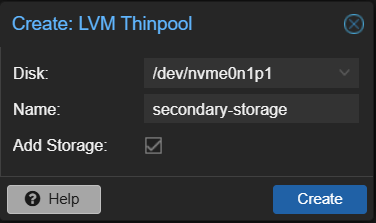
For the VM storage, I wanted an LVM-Thin pool. I went to Node → Disks → LVM-Thin → Create: Thinpool. I selected the first new partition, gave it a name, and then clicked “Create”. Proxmox reformatted the partition and added it to the storage list. Now, when creating a new VM, I can choose secondary-storage as the disk location.
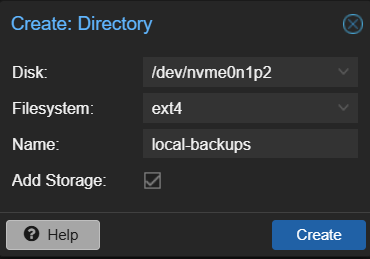
Next I wanted to add the second partition to be used for backups. I went to Node → Disks → Directory → Create: Directory. I selected the second partition, named it, set the filesystem to ext4, and clicked “Create”. Similar to before, this reformatted the partition and added it to the storage list.
Setting up backups
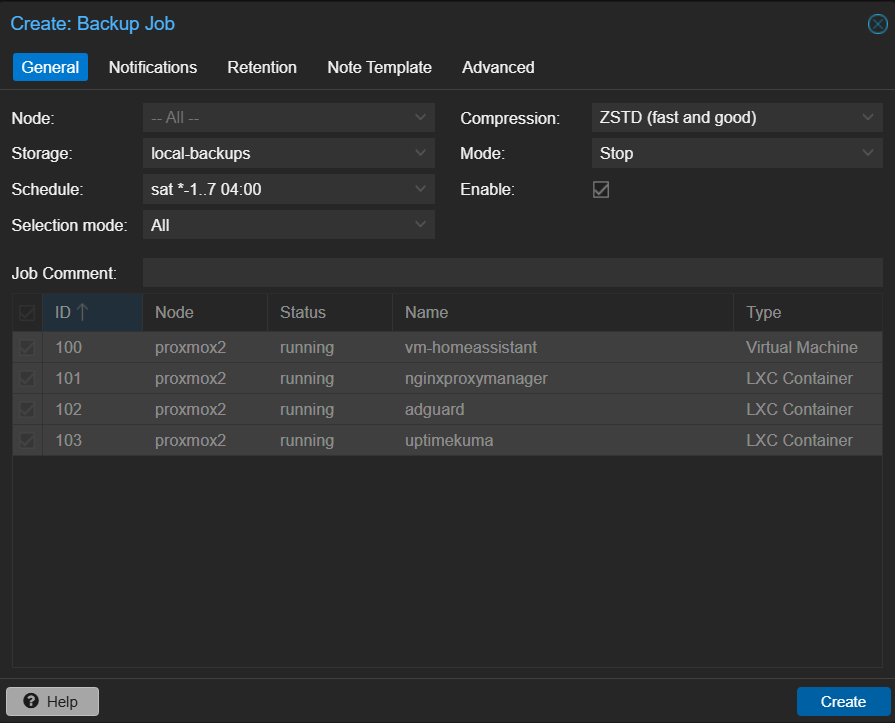
With the new drive ready, I set up an automated backup schedule. I wanted all my machines backed up, so I went to: Datacenter → Backup → Add.
- Storage: local-backups (the new backup drive)
- Mode: Stop
- Schedule: sat *-1..7 04:00
- Selection Mode: All
- Compression: ZSTD
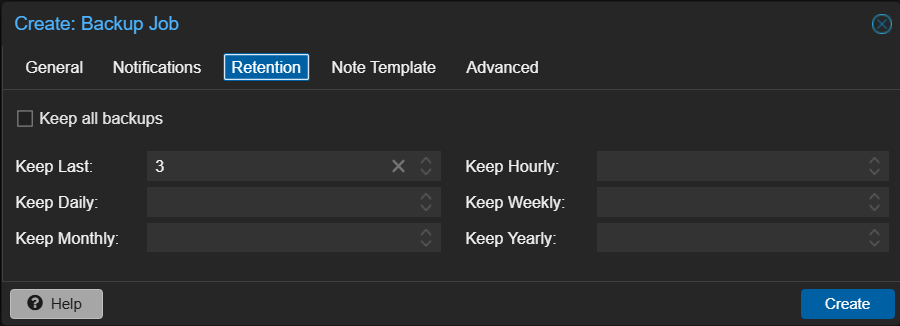
In the “Retention” tab, I configured how many backups to keep, then clicked “Create”.
Finally, I selected the new backup job and clicked “Run now” to test it. Once it completed successfully, everything was set.
The new Proxmox box now has all the initial setup I need to run my critical containers. From here, I’m planning to explore additional containers and continue growing the homelab.