A couple months ago, my Home Assistant instance — which had been running happily on a Raspberry Pi — suddenly stopped responding. After some digging, I discovered the SD card had died and taken the whole system with it. I’d been meaning to try Proxmox for a while, and this felt like the perfect excuse to finally jump in.
I had an old desktop in the basement, so I installed Proxmox on it and spun up a Home Assistant VM along with a few containers. It worked surprisingly well, but the machine only had 2 cores (4 threads) and 16 GB of RAM. After getting a taste of what Proxmox could do, I wanted something with more headroom — and this time I wanted to document the process properly instead of stumbling through it.
Choosing the Hardware
I looked at a few mini pcs and ended up finding a KAMRUI Pinova P2 Mini PC on sale for about $500. It looked like a great fit for a compact homelab node:
- 12 cores / 16 threads
- 32 GB DDR4
- 1 TB NVMe SSD
- Windows 11 Pro preinstalled (OEM key – I saved it just in case, though I don’t expect to use it)
For the price, it seemed like a solid Proxmox box, so I grabbed it.
Preparing for the Install
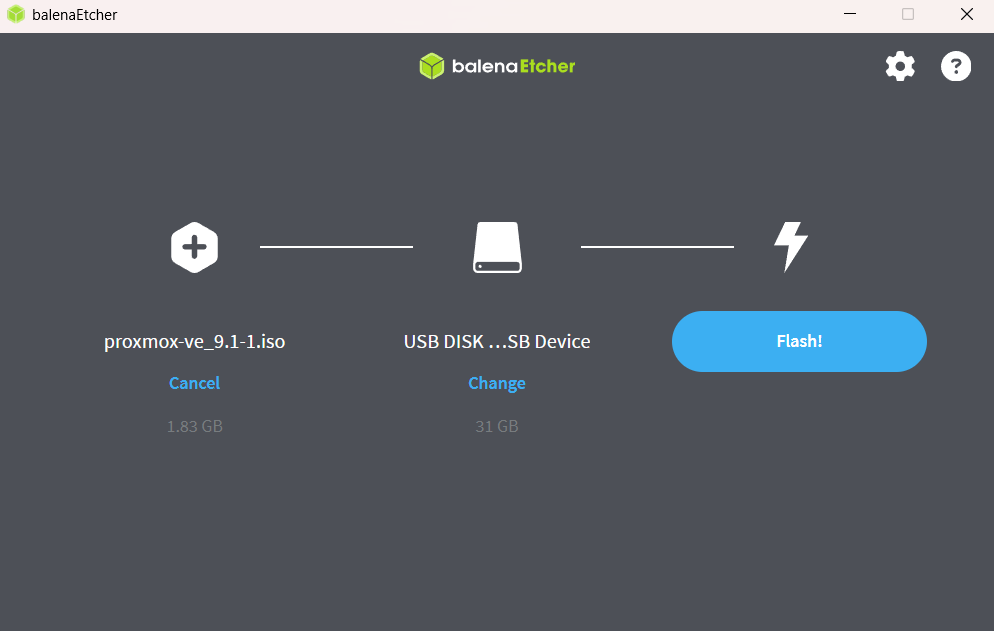
With the hardware picked out, the next step was getting Proxmox onto a USB stick so I could install it. The first step was to download the latest Proxmox VE ISO (9.1 at the time of writing) from proxmox.com. I flashed it onto a USB drive using Balena Etcher.
With the installer ready, it was time to convince the Mini PC to actually boot from USB.
Installing Proxmox
When I first powered it on, the machine went straight into Windows without giving me a chance to enter the BIOS. After some digging, I found the” Advanced Startup Options” menu in Windows, which let me reboot into “Windows Recovery” which then gave me an option to reboot directly into the BIOS.
Once there, I changed the boot order so USB devices were first. After saving and rebooting, the Proxmox installer finally appeared.
I followed along with a great walkthrough from WunderTech (https://www.youtube.com/watch?v=lFzWDJcRsqo). The installation steps were straightforward:
- Select Graphic Installer
- Accept EULA
- Select Disk to install on
- I only have the SSD it came with installed
- In “Options” you can select the file system
- I stuck with ext4 since it’s simple and reliable, and I didn’t need anything more advanced for this setup
- Set country and timezone
- Create root password + email
- This is the root password we will use to access the proxmox instance
- The email is used for admin notifications
- Set network settings
- If we want to choose a specific management interfaces we can, otherwise just select the first one
- Set the IP Address (CIDR) which we want the host to request
- We still need to set up a DHCP assignment on the router later on
- Im using
192.168.1.10
- Set hostname to some internal host name
- this will be the name of the node in the interface
- Im using
proxmox2.lan
- Set Gateway and DNS server to our router IP
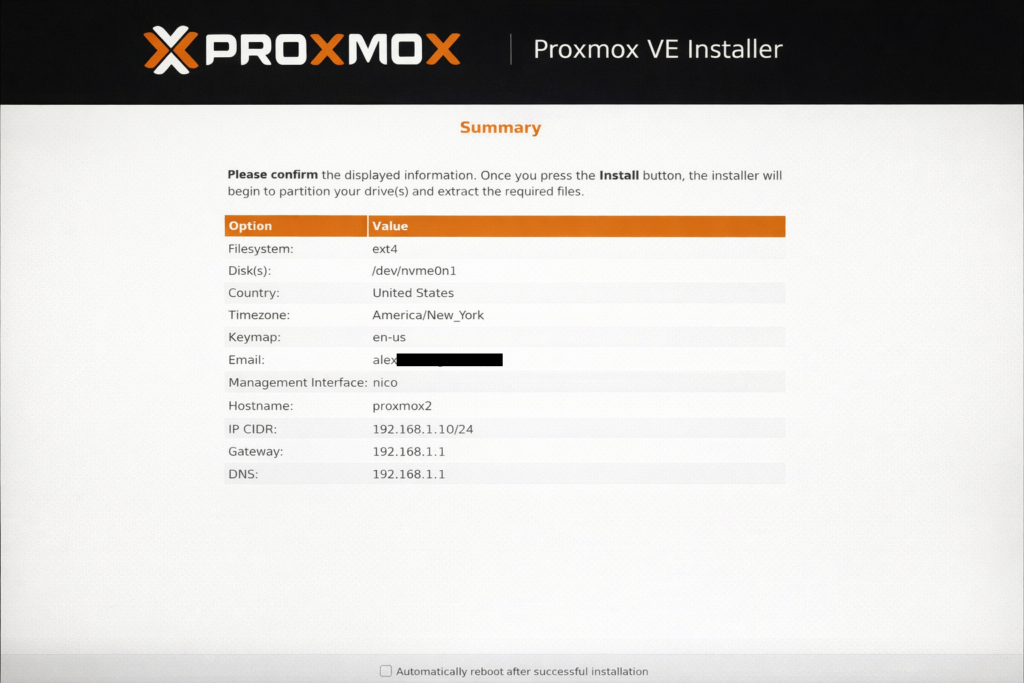
- Review all the selected settings and click
Install - After the install, reboot the machine
First Boot & Basic Setup
After rebooting, Proxmox displayed the URL for the web interface. I opened it, accepted the self‑signed certificate warning, and logged in as root using the password set up previously.
I then switched to “dark mode” by clicking on my profile in the top right corner, selecting “color theme” and then selecting “Proxmox Dark”.
Running the Post‑Install Script
Next, I used the “PVE Post Install” script from community-scripts.org. I selected the node (proxmox2), opened a shell and ran the “PVE Post Install” script. This was very similar to what was shown in the video referenced earlier but the questions were worded a bit differently.
- I didnt have to update sources because it told me they were already set
- but if they were not I would have told it to do so
- Disable enterprise repo?
- Yes
- Disable ceph repo?
- Yes
- Add no-subscription repo?
- Yes
- Add PveTest repo?
- No
- Disable subscription nag?
- Yes
- Disable high availability?
- Yes
- Disable corosync?
- Yes (this seem to be related to high availability)
- Update Proxmox?
- Yes

After it finished, I rebooted and confirmed there were no pending updates.
Setting Up DHCP Reservation
Next, I wanted to create a DHCP reservation on my router. I prefer to give my homelab machines static DHCP leases so their IPs never change, which helps keep things predictable. Oddly, I couldn’t find the device listed under the IP it was using. Eventually I realized I needed to search byMAC address. To find the MAC address I ran ip link in the root shell and then looked for vmbr0 -> link/ether <MAC>. I later figured out you could also find this under under Node → Network → nic0 → Alternative Name.
Once I had the MAC, I found the DHCP entry (under a different IP), set it to static, and updated it to the IP I wanted. It turned out the router had already given it a different IP, which explained why I couldn’t find it at first.
Notification Setup
Finally, Proxmox can send alerts for backups, errors, and updates, so I wanted to make sure I’d actually see them. I created a dedicated email account on my personal mail server and used that to configure SMTP. I went to Datacenter → Notifications → Notification Targets → Add → SMTP and filled out the settings.
- Endpoint name:
Rirak-Mail-Server - Server:
mail.rirak.com - Username:
[email protected] - Password:
<email password> - From Address:
[email protected] - Recipient:
root@pam- This means the root user. Others could be added too.
After saving, I sent a test email to confirm everything worked. Then I updated the default matcher: Notification Matchers → Default Matcher → Modify → Targets to Notify → Select Rirak-Mail-Server.
Wrap Up
What started as a dead SD card turned into a full Proxmox rebuild — and a much more capable homelab node. The KAMRUI Mini PC has plenty of headroom, and the setup process was smoother than I expected once I got past the BIOS quirks.
Next up, I’ll migrate my Home Assistant VM and start moving the rest of my services over. I’m also planning to document the VM setup, backups, and container configuration as I go.